Posts

Showing posts from 2013

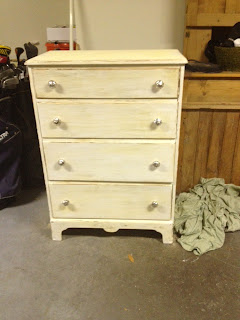
DIY How To: Distress Furniture, part 2

Image
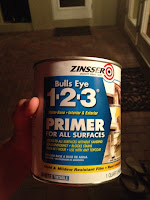
...Continued from 'DIY How To: Distress Furniture, part 1' STEP 3: Primer Primer is debateable. I learned after I purchased the primer I used (see to the right) that when you're using 2 coats of semi-gloss paint for the color you really dont need a primer.  One tip I got from a co-worker is you want to spend money on a good brush! If you buy a good brush such as the one to the left, you can re-use and re-use, you can basically use it for life!! I plan on doing a lot of these projects so I invested in this $11 brush. Make sure the primer is well coated on the furniture and brush in the direction of the wood grain. This is the base coat. If you're lucky enough to have a spray paint gun, use that for a solid coating. Mine could have been a better paint coat, see finished paint job below. Let it dry for 24 hrs. STEP 4: Paint Coat 1 + 2   After 24 hours, apply the base coat. I used the Martha

DIY How To: Distress Furniture, part 1

Image
My first post!! This week I'm going to explain how to distress a dresser. I am going to break these DIY projects into multiple posts so they're not overwelming. Each post will be a step in the process. Distressing is really not a difficult process, but it is time consuming. You could complete the project in full in a long weekend, but realistically it will probably take about 2 weeks. I'm breaking it up into 2 blog posts. There are many different distressing techniques as well. For my first project I chose to loosely follow Martha Stewart's Distressing Technique  that she used on a chair. I plan to try some different ones going forward and of course re-do this same technique on different peices of furniture! STEP 1: Choose your peice This is the fun part! Go shopping! I went to an estate sale to find my dresser (seen above). I paid $40, which was a little expensive, especially for my first project! You can find cheap furniture at garage sales, e